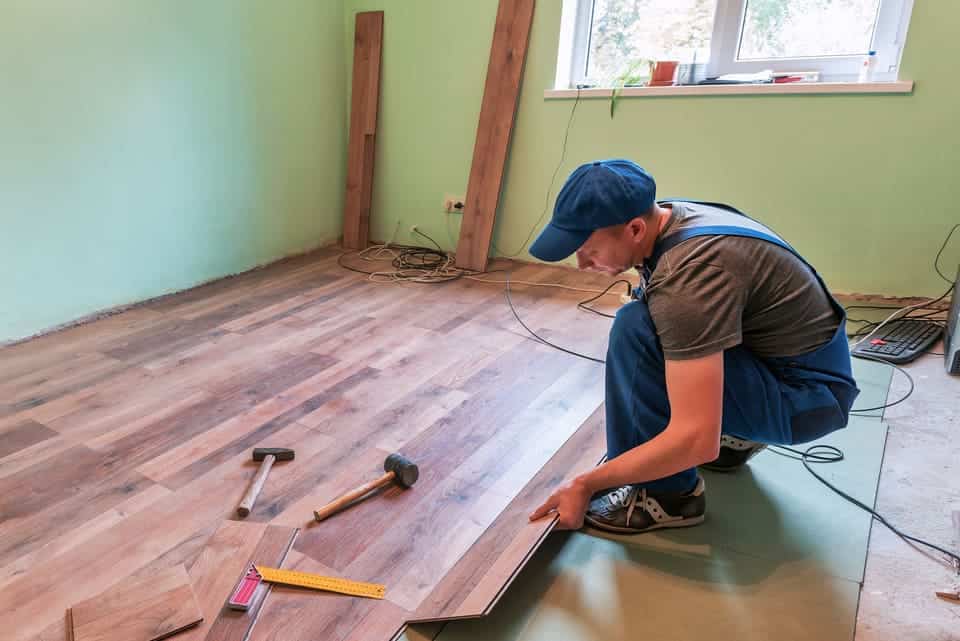
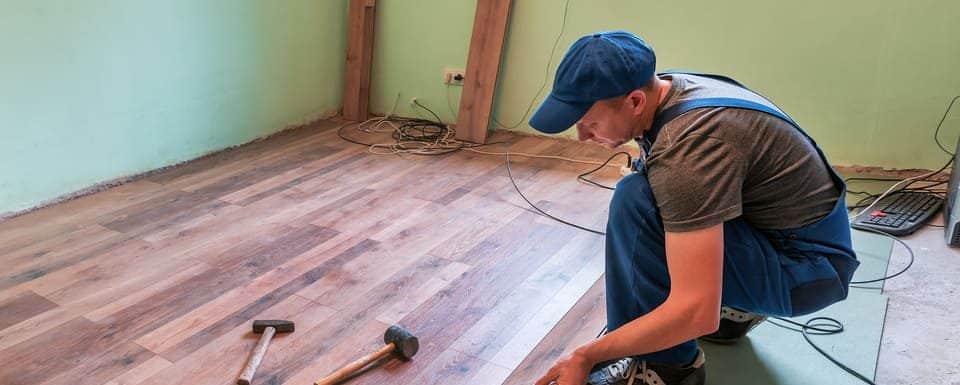
Americans are spending over $3,000 each year on home improvements, and that includes floor installation. If you’re looking to upgrade your floors, you may be weighing your options when it comes to materials. Engineered hardwood floors are among the most durable and attractive options you can find today.

Read on to learn about the process of installing engineered hardwood!
Table of Contents
Gather the Right Tools
First, you’ll want to make sure you have the right tools handy for laying engineered wood flooring. For instance, you’ll need basic tools like a straight edge and tape measure. But you’ll also want a rubber mallet, jigsaw, and floor nailer.
Additionally, plan on keeping a hammer and trowel on hand. Depending on the style of floors and processes involved, you may not need all of these tools.
You’ll also want to have protective gear, such as safety glasses. If you’re unfamiliar with operating tools like saws or nail guns, it pays to practice first, too. Alternatively, you can outsource the project to someone else!
Remove the Old Floor and Trim
Before you can install engineered hardwood floor planks, you need to remove the existing flooring and trim. You can consider installing engineered hardwood over existing hardwood floors. But your best bet is to remove old floors before moving forward.
As an alternative to removing moldings, you can trim them instead. You’ll need an osculating tool and a patient hand to do this. But once it’s done, there will be enough of a gap for the new flooring to slip underneath it.
While you’re doing this, let your engineered planks sit out. This gives them time to adjust to the temperature and humidity in your space. If you don’t do this critical step, the floors may buckle and bend once installed.
Also Read: A Homeowner’s Guide to Tree Damage and Roof Repair
Get Your Subfloor Ready
Once the trim is gone, turn to preparing your subfloor. This is the layer that sits right above the joists.
You’ll want to walk around your subfloor to gauge its condition. Ideally, it should feel firm and secure. But if you hear creaking noises, you may need to nail some of the sheets back into place.
You may need to add new plywood sheets, too, to keep the subfloor secure. Check to ensure that the subfloor is flat before moving to the next step. Otherwise, your engineered hardwood planks won’t sit properly.
You can use a sander to smooth and level the surface. Also, plan on using a compound to fill any noticeable cracks or gaps.
Remember that a subfloor is the base for both the underlayment and your floor planks. It needs to be perfectly level to help promote evenness in the layers above it.
Install the Underlayment
With engineered wood flooring installation, you should always put down an underlayment layer first. While this might sound like an extra step, it’s essential to ensure a satisfactory installation. What is an underlayment?
An underlayment is a barrier layer that sits beneath the planks. It keeps out moisture and adds insulation. It also helps to muffle noise when people walk across the floor.
Typically, an underlayment is made of a soft material, like felt, or a heavy-duty paper. Without completing this step, you could reduce the lifespan of your floorboards.
Place Your Initial Row of Flooring
Next, you’ll want to start installing a single row of flooring. How you go about the installation will depend on the type of floor you’re installing. Are you working with floating floors, or will you be nailing them down?
Floating floors use a tongue-and-groove connection method. These floors are easy for a DIY installation. You just need to make sure the planks lock together and you don’t need to use a hammer and nails.
For floors that you nail down, you’ll need to start with a plywood subfloor. And you’ll need to be comfortable using a nail gun. The process is more time intensive, since you’ll need to pre-drill nail holes to avoid splintering.
In either case, you’ll need to cut some boards to specific sizes as you approach outlets or ducts. Use a jigsaw or another type of handsaw to make a clean cut. And, of course, measure carefully and order excess planks in case you make mistakes.
Additionally, before you start cutting, look at the specifications for your engineered hardwood. You may need to use specific tools and stay away from others. Or you might have to avoid walking on the floors for a set period of time after installation is complete.
Complete the Installation
Finally, you’ll be able to complete the job using your first row of planks as a guide. For aesthetic appeal and a good fit, make sure you are staggering the rows. In other words, the joints should not sit next to each other from one row to the next.
As you add rows, tap the exposed edge of each new row. This will help keep the rows locked together snugly. Use spacers as designated by the type of flooring, too, for a good fit.
With a careful approach, you’ll create the look of luxury hardwood flooring. And to finish the job, you can reinstall the baseboard trim for a polished look.
Also Read: Preparing Your Home For Solar Panel Installation
Plan on Installing Engineered Hardwood
Installing engineered hardwood requires precision and attention to detail. Once you’ve removed the old flooring, take your time preparing the subflooring and underlayment. Then move to the actual installation of the floor planks to complete your new look.
Find more tips to improve your home’s appearance. Check back soon for new articles!

Leave a Reply